3D Layered Modern Wall Art Laser Cut: A Creative Guide for Perfect Results
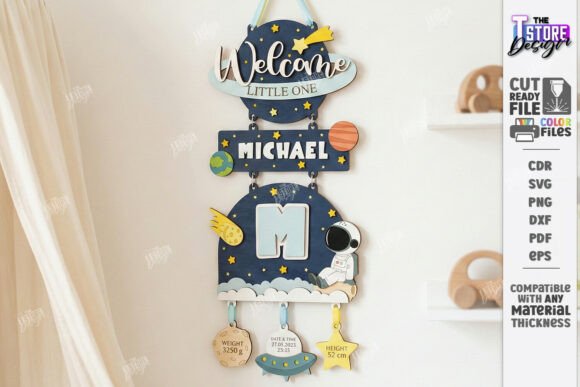
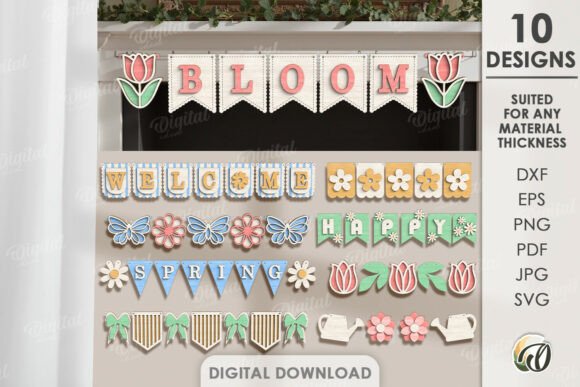
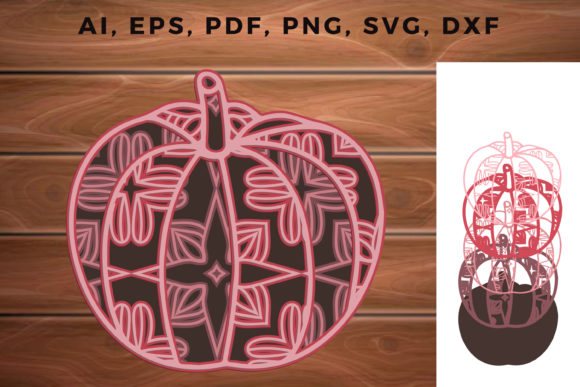
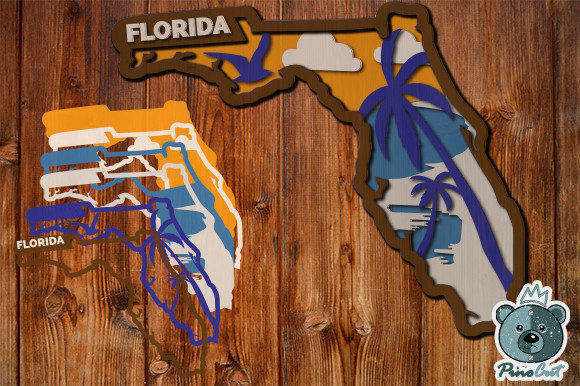
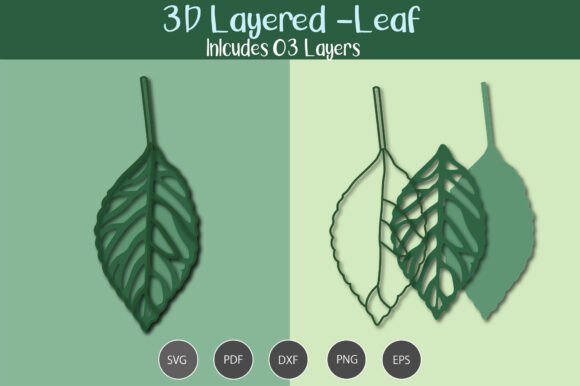
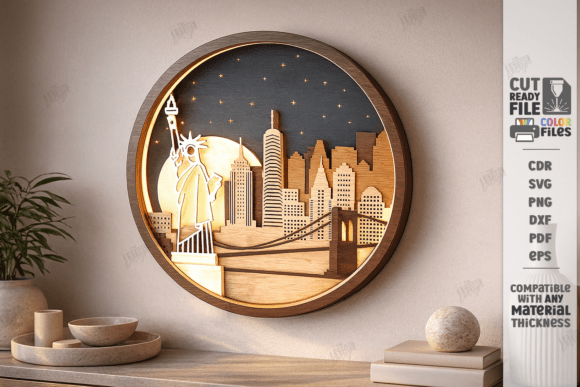
3D layered modern wall art laser cut has become a popular choice among DIY enthusiasts, interior designers, and creative professionals who want to add a unique, artistic touch to their living or working spaces. This type of wall decor features multiple layers of material—often wood—that are intricately laser-cut and stacked to create depth and dimension. The result is a stunning visual effect that mimics landscapes, abstract designs, or natural elements like trees and mountains.
Why Choose 3D Layered Wall Art?
The appeal of 3D layered wall art lies in its ability to transform any flat surface into a dynamic focal point. Unlike traditional two-dimensional artwork, these pieces offer a tactile and dimensional experience, making them ideal for modern home interiors, office spaces, and even retail environments. The laser-cutting process ensures precision and consistency, allowing for complex patterns and clean lines that would be difficult to achieve by hand.
For those using digital tools like Glowforge, CNC machines, or software such as Lightburn, the availability of SVG, EPS, DXF, PNG, and PDF files makes it easy to customize and produce high-quality wall art at home. These digital downloads provide everything needed to bring your vision to life with minimal effort and maximum creativity.
Common Mistakes When Working with 3D Layered Wall Art Laser Cut
Despite its popularity, many people encounter issues when selecting or using 3D layered wall art laser cut. Here are some common mistakes and how to avoid them:
Mistake #1: Not Checking File Compatibility
One of the most overlooked aspects is ensuring that your laser cutting machine and software can properly handle the file formats provided. Many digital products include SVG, EPS, DXF, PNG, and PDF files, but not all systems support them equally. For example, users of Lightburn may find that SVG files sometimes distort dimensions during import.
Better Approach: Always verify which file formats your machine and software support. If you're experiencing distortion or scaling issues with SVGs, try using the DXF format instead—it tends to maintain accuracy more reliably. Before starting a project, test a small portion of the design on scrap material to ensure proper alignment and sizing.
Mistake #2: Skipping Material Thickness Considerations
Laser-cut wall art relies heavily on the thickness of each layer to create depth and realism. However, many beginners overlook this detail when purchasing or downloading templates. The final look of your piece can be dramatically affected if the layers aren’t proportionally balanced or made from materials that don’t hold up well under laser cutting.
Better Approach: Look for templates that specify recommended material thicknesses and stacking order. Most circular nature landscape designs work best with wooden rounds between 1/8” and 1/4” thick. If no guidance is given, start with 3–5 layers and adjust based on the desired visual impact.
Mistake #3: Ignoring Software Settings
Even with the right file format, incorrect software settings can ruin a project. It’s essential to understand how your machine interprets CUT (usually red lines) and ENGRAVE (typically black lines) commands. Misreading these instructions can lead to incomplete cuts, overly deep engravings, or misaligned layers.
Better Approach: Always double-check the color codes in your design file before sending it to your laser cutter. Use manufacturer guidelines to set the correct power, speed, and pass settings for engraving and cutting. Keep a record of what works for future projects.
Mistake #4: Overlooking Design Complexity
Some 3D layered wall art templates feature intricate details, especially those with circular nature or scenic themes. While complexity adds visual interest, it also increases the time and skill required for setup and execution. Beginners might underestimate the difficulty involved in aligning each layer precisely after cutting.
Better Approach: Start with simpler designs before moving to more detailed ones. Pay attention to how the layers interact—look for templates with clear stacking instructions. Using pre-drilled holes or registration marks can help you align each part accurately without guesswork.
What to Check Before Downloading or Purchasing
- File Format Support: Ensure your laser cutting system supports the included SVG, DXF, or other file types. Some programs require specific versions or plugins.
- Design Dimensions: Confirm the size of the artwork fits your space and laser bed. You may need to scale the design, so choose a format that allows for lossless resizing.
- Layer Instructions: Look for templates that include stacking guides or assembly tips. Clear documentation can save hours of trial and error.
- Material Recommendations: The best results come from using compatible materials like birch plywood, MDF, or basswood. Avoid using warped or uneven sheets.
- Software Compatibility: Test the file in your preferred software first. If there are issues, reach out to the seller for alternative formats or assistance.
How to Get the Most Out of Your Project
To maximize the potential of your 3D layered wall art laser cut project, consider these practical tips:
- Plan Your Space: Before assembling the layers, visualize how they will fit together. Measure the area where you’ll hang the finished piece to ensure it complements the room.
- Use Proper Tools: Invest in a good ruler, calipers, and clamps to keep layers aligned during assembly. Precision matters for a polished finish.
- Finish with Care: Sand edges gently after cutting and apply a sealant or paint to enhance durability and appearance. Stained wood gives a warm, organic feel, while white acrylic offers a sleek, contemporary look.
- Hang Securely: Depending on the weight and size, use appropriate hanging hardware. For large pieces, consider mounting them on a backing board for stability.
Real-World Applications and Customization Ideas
3D layered wall art isn't just for home décor. Educators use it in classrooms to teach geometry and design principles. Entrepreneurs incorporate it into branding for boutiques and cafes. Bloggers and content creators often showcase it as part of DIY tutorials or lifestyle posts.
Customization is key. Want a different color scheme? Ask the seller if they can provide an alternate PNG version. Need the design scaled to fit a larger space? Most SVG and DXF files allow for easy resizing. Don’t hesitate to communicate your needs—they’re usually happy to help!
Final Thoughts
Creating 3D layered modern wall art laser cut is both rewarding and accessible, especially with the variety of digital files available today. By avoiding common pitfalls like file compatibility issues, improper material choices, and misinterpreted software settings, you can ensure your project turns out beautifully and efficiently.
If you're new to laser cutting or just looking to refine your skills, take time to learn the basics of your machine and software. A little preparation goes a long way toward achieving professional-looking results.
Remember, every project starts with a simple click—download your favorite template, review the files carefully, and let your creativity guide you. And if you have questions along the way, don’t hesitate to reach out to the shop owner. They’re there to help you succeed.
Follow the creator behind these designs to stay updated on new releases and inspiration for your next project. Happy crafting! 🌿✨